


How to Film a Self-Tape at Home
Self-tape at home: easier than you think
You don't need a studio, professional equipment, or a big budget to record a quality self-tape. All you need is a smartphone, a bit of preparation, and proper space organization. In this guide, we'll show you how to set up a home mini-studio in 30 minutes and start filming self-tapes that look professional.
Choosing a location in your apartment
Look around your apartment and find a wall section suitable for filming:
Ideal location
- Solid-colored wall without patterns (gray, beige, white, light blue)
- Enough space to step back 1.5-2 meters from the wall
- Ability to control lighting (window curtains)
- Quiet room (not the kitchen with a refrigerator, not a room near a busy street)
If you don't have a suitable wall
- Hang a solid-colored sheet or curtain without wrinkles
- Use a fabric photo backdrop on a stand (from 1,500 rubles)
- Use a smooth neutral-colored blanket
Equipment setup in 30 minutes
Step 1: Camera (5 minutes)
- Place your smartphone on a tripod horizontally (landscape orientation)
- Height — lens directly at eye level (whether you're sitting or standing, depending on the scene)
- Distance — you in frame from chest up (medium-close shot)
- Enable video mode: 1080p, 30 fps
Step 2: Lighting (10 minutes)
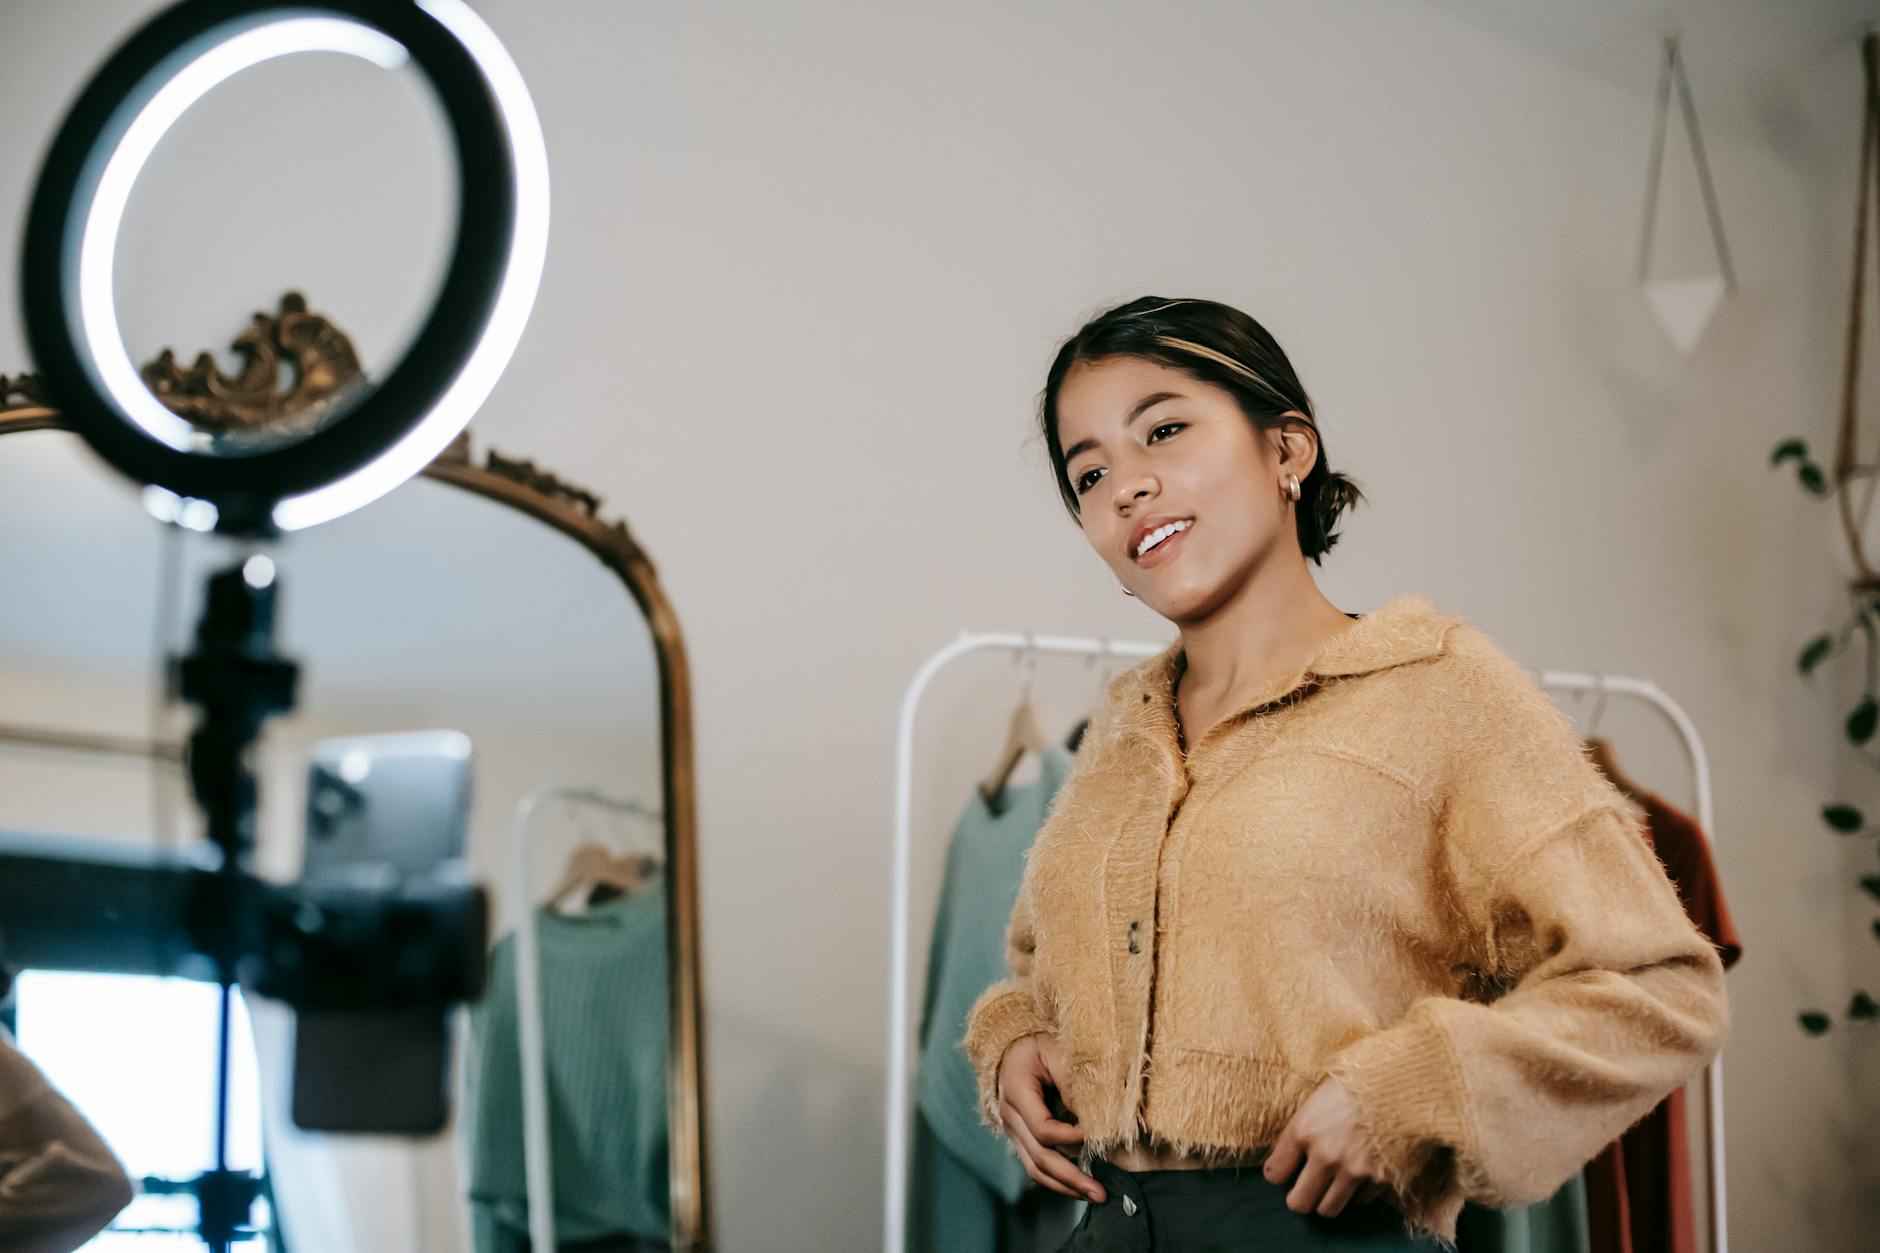
Option 1: Ring light
- Place the light behind the camera or next to it, directed at your face
- Brightness — medium (don't blind yourself)
- Warm or neutral color temperature
Option 2: Natural daylight from a window
- Sit facing the window (window in front of you, camera between you and the window)
- On an overcast day, the light is soft and ideal
- On a sunny day, hang thin white fabric on the window to diffuse the light
Option 3: Desk lamps
- Two lamps with white light on either side of the camera, directed at you
- Avoid yellow and overly warm light
Step 3: Sound (5 minutes)
- Close windows and doors
- Turn off air conditioning, fan, television
- Remove pets from the room
- Put your phone on silent mode (a second phone if filming on your main one)
- If you have a lavalier microphone — connect it to your phone
Step 4: Check (10 minutes)
- Record a 30-second test clip
- Watch it on a large screen (computer or tablet)
- Check: is your face visible? Is the lighting even? Is the sound clean? Is the background neutral?
- Make adjustments if needed and record another test
Step-by-step self-tape recording
- Prepare — memorize the text, think through the role, dress according to the character
- Ask a scene partner — have them sit next to the camera, slightly off to the side of the lens
- Press "Record" — start with a short pause (2-3 seconds of silence)
- Slate — state your name and the role (if required)
- Perform the scene — direct your gaze toward your partner, not at the camera
- Don't stop if you make a mistake — finish the take to the end
- Record 3-5 takes — each time, look for something new in the role
- Stop — review the takes and choose the best one
Editing on your phone
For basic editing, free apps are enough:
- Trim the beginning and end (remove moments before and after the performance)
- Don't add music, filters, transitions, or titles
- Save as MP4, 1080p
- Name the file: FirstName_LastName_Role.mp4
Home studio readiness checklist
- [ ] Solid-colored background without distracting objects
- [ ] Camera on tripod, horizontal, at eye level
- [ ] Lighting on your face (ring light or window)
- [ ] Quiet room (everything unnecessary turned off)
- [ ] Framing: from chest up
- [ ] Test recording checked
Budget solutions
| Problem | Budget solution | Cost |
|---|---|---|
| No tripod | Stack of books + phone | 0 rubles |
| No background | White sheet on wall | 0 rubles |
| No ring light | Window + white paper as reflector | 0 rubles |
| No microphone | Recording in quiet room + phone close by | 0 rubles |
| No scene partner | Record lines on a voice recorder | 0 rubles |
These are temporary solutions. As you grow, invest in equipment.
Common home problems and solutions
Noisy neighbors — film early in the morning or late in the evening when it's quiet.
Small room — even 2x2 meters is enough for a close-up shot. Push furniture to the walls.
Poor lighting — in a pinch, even one floor lamp directed at your face from behind the camera works.
No scene partner — ask a friend to connect via video call and read the lines, placing their phone next to your camera.
Children or pets — arrange with your household for 30 minutes of quiet. Lock yourself in a room. Read more about this in the article "How to Record a Self-Tape at Home: 7".
Improve your skill
The more often you film self-tapes at home, the faster and more confident you become. Turn the process into a routine:
- Record at least one self-tape per week (even without a casting)
- Don't dismantle your "studio" — keep the background and tripod set up permanently
- Show your recordings to a coach or colleagues for feedback
Start filming today
Everything you need for a quality self-tape is already in your home. Don't delay — set up your space, record a test video, and start responding to castings.
Create a free profile on GetActress and use your home self-tapes to book roles.
FAQ
Ready to start your acting career?
Create a free actor profile in 2 minutes — and casting directors will find you.
Create a free profile →FAQ
Comments
Sign in to join the conversation
Sign inNo comments yet. Be the first to share your thoughts!