


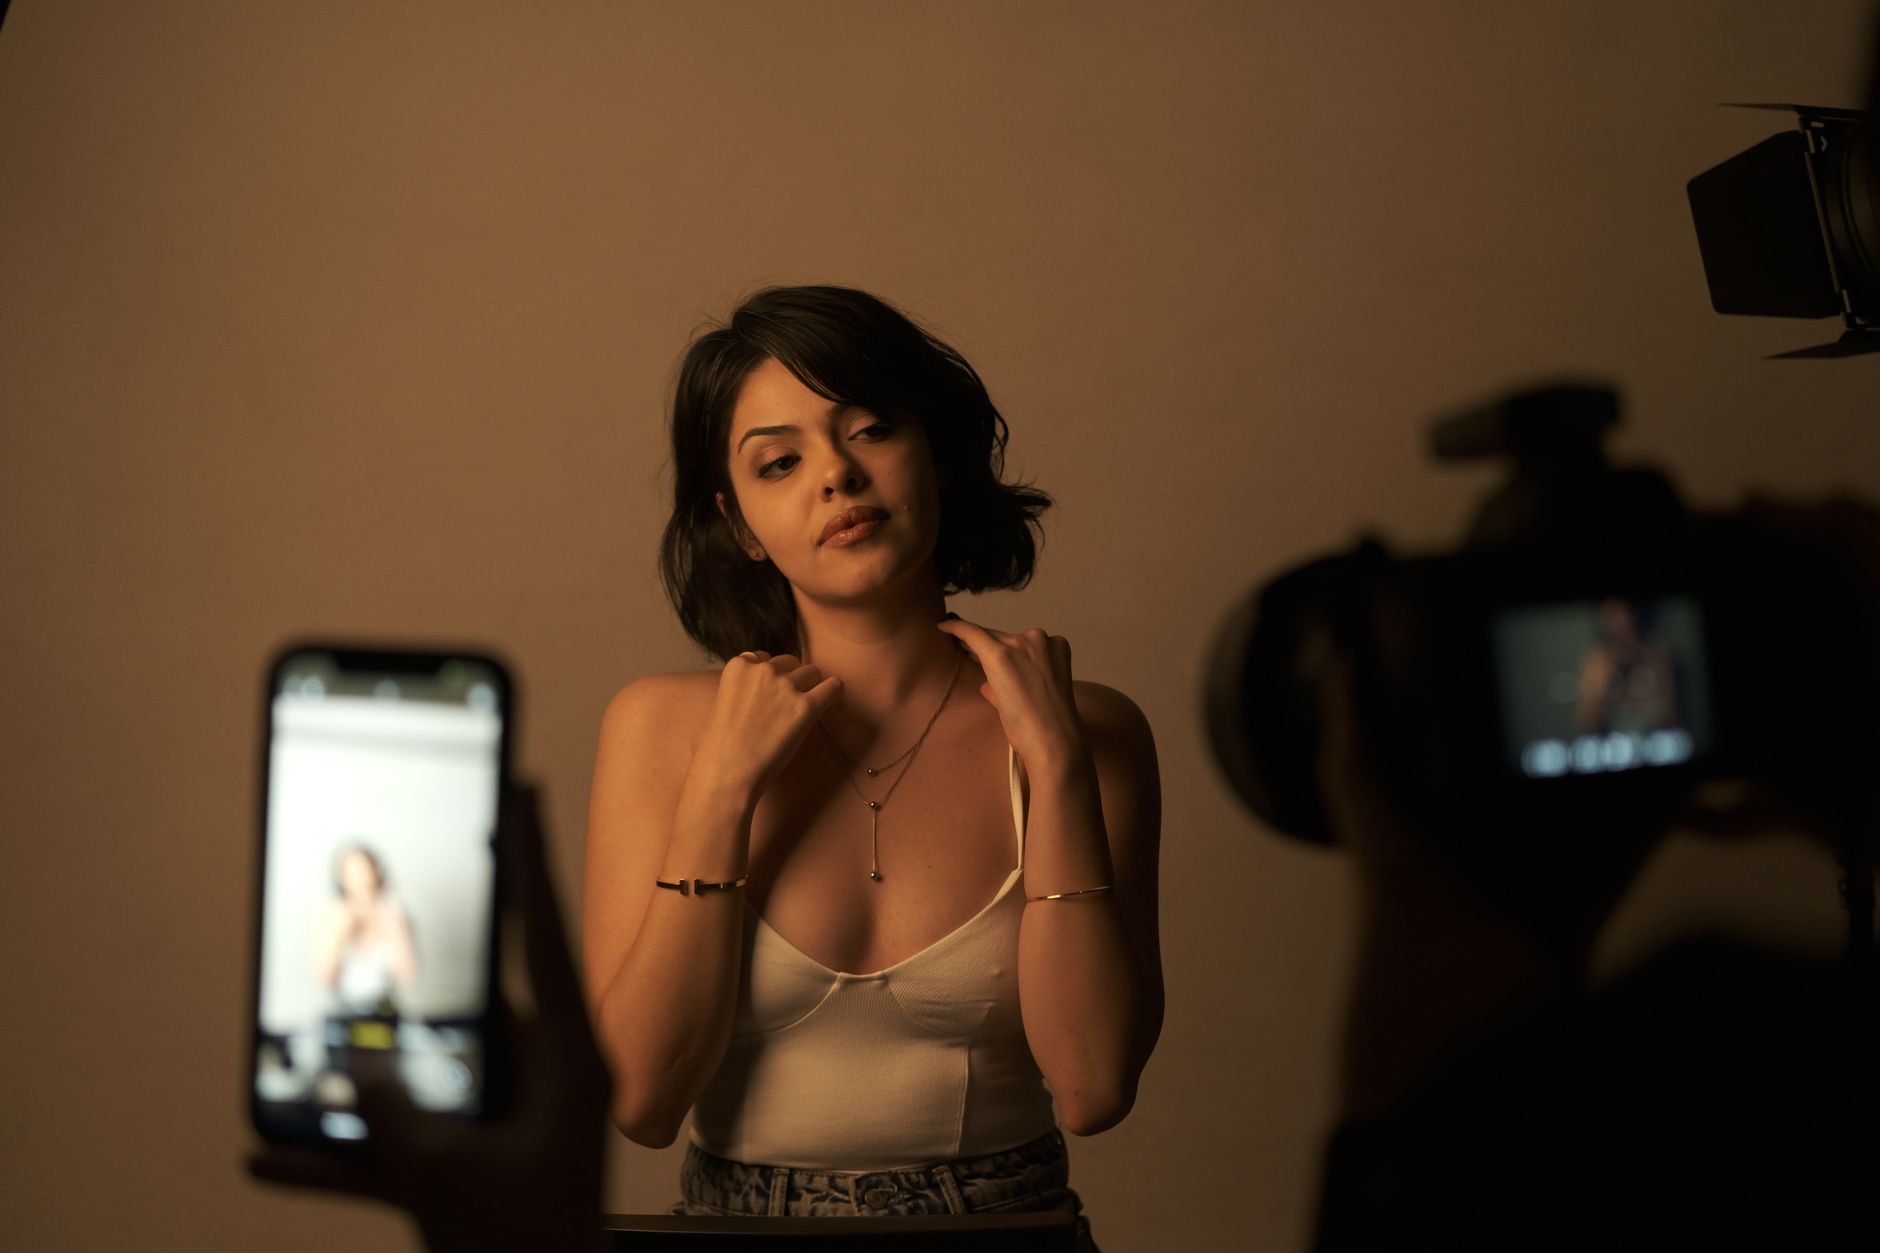
How to Set Up Lighting for Self-Tape at Home
Lighting for self-tape is a system of arranging light sources that provides even illumination of an actor's face without harsh shadows and overexposure. Properly set lighting makes video look professional and helps the casting director evaluate acting skills without being distracted by technical flaws. A basic scheme includes a main light source in front and fill light to soften shadows.
Table of Contents
- Basics of self-tape lighting
- Natural light: working with a window
- Artificial lighting: lamps and softboxes
- Light placement schemes
- Budget solutions up to 2000 rubles
- Common lighting mistakes
- Checking light quality before recording
Basics of self-tape lighting
Quality lighting solves three main tasks: makes the face readable, creates volume, and conveys natural skin tones. Key light is the main source that forms the lighting pattern. Fill light softens shadows from the key light. Rim light separates the actor from the background.
However, for home self-tape, rim light is often excessive — proper placement of key and fill light is usually enough. The main rule: light should fall on the face at a 30-45 degree angle from above, imitating natural lighting.
Color temperature is measured in kelvins (K). Daylight is 5500-6500K, incandescent bulbs are 2700-3200K. Mixing sources with different temperatures creates unpleasant color casts on the skin.
Natural light: working with a window
A window is the best source of soft, even light for self-tape. Ideal shooting time is from 10:00 to 16:00, when the sun doesn't shine directly into the window. North-facing windows provide stable diffused light without harsh brightness fluctuations.
Position the camera so the window is at a 45-degree angle to your face. If the window is directly behind the camera, your face will look flat. If it's to the side — deep shadows will appear on the opposite side of your face.
Working with direct sunlight
Direct sunlight creates harsh shadows and overexposure. Soften them with:
- Sheer curtain or white sheet on the window as a diffuser
- White A1 sheet or foam board as a reflector to fill shadows
- Shooting in shade from a curtain or blinds
Honestly, on cloudy days natural light is often better than on sunny days — it's softer and more even.
Artificial lighting: lamps and softboxes
When natural light is insufficient or stability is needed, use artificial sources. LED panels are the most practical choice for a home studio. They don't heat up, consume little energy, and often have brightness and color temperature adjustment.
Types of light sources
| Source Type | Power | Price | Pros | Cons |
|---|---|---|---|---|
| LED panel | 20-50W | 1500-5000₽ | Doesn't heat, adjustable | May flicker on video |
| Ring light | 18-55W | 2000-8000₽ | Even light | Ring reflection in eyes |
| Softbox with lamp | 85-150W | 3000-12000₽ | Soft light | Takes up space |
| Regular lamp | 60-100W | 300-800₽ | Cheap | Harsh light, heats up |
Softbox is an attachment that diffuses harsh lamp light through white fabric. Size matters: the larger the softbox relative to the subject, the softer the light. For self-tape, a 60×60 cm softbox is sufficient.
DIY diffusers
Professional softboxes can be replaced with improvised materials:
- White umbrella — reflects lamp light, creating soft illumination
- Tracing paper or parchment — diffuses direct lamp light
- White sheet — stretched over a PVC pipe frame
- Lightbox for product photography — ready-made solution with diffusers
Important note: DIY diffusers made from paper or fabric cannot be placed close to hot incandescent bulbs — this is a fire hazard.
Light placement schemes
Scheme 1: One source + reflector
The simplest and most effective scheme for beginners:
- Main light — LED panel or window at a 45° angle to the face
- Reflector — white sheet or foam board on the opposite side
- Distance — 1-1.5 meters from face to light source
This scheme creates a natural pattern with soft shadows and good readability of facial features.
Scheme 2: Two sources (key + fill)
- Key light — main source at a 45° angle to the right or left
- Fill light — less bright source on the opposite side
- Brightness ratio — 2:1 or 3:1 (key brighter than fill)
Fill light should be 2-3 times weaker than key light, otherwise lighting becomes flat.
Scheme 3: Butterfly lighting
Light source is positioned directly in front of the face, slightly above eye level. Creates a symmetrical shadow under the nose in the shape of a butterfly. Good for portrait self-tapes, but can be too flat for dramatic scenes.
Scheme 4: Rembrandt lighting
Key light at a 45° angle creates a triangle of light under the eye on the less-lit side of the face. This is a classic portrait scheme that adds drama and volume.
Budget solutions up to 2000 rubles
You can create quality lighting with minimal expenses. Here are proven options:
Option 1: Natural light + reflectors (500₽)
- White foam board 100×70 cm — 200₽
- Food foil — 100₽
- Tracing paper A1 — 200₽
Option 2: LED lamp + DIY softbox (1800₽)
- 30W LED lamp with adjustment — 1200₽
- Desktop tripod — 400₽
- White fabric for diffuser — 200₽
Option 3: Ring light (2000₽)
- 26 cm ring LED lamp with phone mount — 2000₽
Ring light is a universal solution for self-tapes. It provides even light without shadows, though some casting directors consider such lighting too "blogger-like."
DIY lightbox
You can make a softbox from a 60×60×60 cm cardboard box:
- Cut out the front panel
- Line the inside with foil or white paper
- Stretch white fabric over the front opening
- Place an LED lamp or desk lamp inside
You get soft, diffused light for 300-400 rubles.
Common lighting mistakes
Mistake 1: Light from below
Lighting the face from below (for example, from a laptop screen) creates a "demonic" effect — shadows fall upward, distorting facial features. Always place main light above eye level.
Mistake 2: Too contrasty lighting
Harsh transition from light to shadow makes the face dramatic, but can hide important details. For casting, softer, more even lighting is better.
Mistake 3: Different color temperatures
Mixing warm incandescent light (3000K) with cool window light (6000K) creates unpleasant skin tones. Use sources with the same color temperature.
Mistake 4: Light directly into the camera
If the light source is behind the camera on the same axis as the lens, the face looks flat, without volume. Shift the light to the side at a 30-45° angle.
Mistake 5: Too bright light
Overexposed face loses detail in bright areas. Better to slightly underexpose — shadows can be lifted in post-processing, but overexposure cannot be recovered.
Checking light quality before recording
Before starting to record your self-tape, check the lighting with this checklist:
Technical parameters
- Exposure — face is not overexposed, details are visible in shadows
- Color temperature — skin looks natural, without yellow or blue casts
- Sharpness — eyes are in sharp focus
- Stability — lighting doesn't flicker or change
Artistic criteria
- Volume — face doesn't look flat, there's interplay of light and shadow
- Readability — all facial features are clearly distinguishable
- Naturalness — lighting doesn't look artificial
- Role appropriateness — soft light for romantic roles, contrasty for dramatic ones
Practical test
Make a 30-second test recording and check:
- Turn your head left-right — shadows should transition smoothly
- Look up-down — eye lighting shouldn't disappear
- Smile and frown — facial expressions should be clearly readable
If something isn't right, adjust the light position or add a reflector.
Properly set lighting is half the success of a self-tape. The other half is quality acting and technical execution. Read our complete self-tape guide to learn how to prepare comprehensively.
Good lighting helps the casting director focus on your performance, not be distracted by technical flaws. Start with simple schemes — one source and a reflector are often enough for professional results. As you develop your skills, you can experiment with more complex lighting schemes.
To find new roles and castings where your self-tape skills will come in handy, create a free profile on GetActress. The platform will help you find suitable projects and connect with casting directors directly.
Ready to start your acting career?
Create a free actor profile in 2 minutes — and casting directors will find you.
Create a free profile →FAQ
Comments
Sign in to join the conversation
Sign inNo comments yet. Be the first to share your thoughts!